Sun 12 Sep 2004
Removing Light Hiss With Cool Edit Pro
Posted by assorted under Uncategorized
No Comments
REMOVING
LIGHT HISS IN 8 EASY STEPS
So, you have a song on tape which you really really want
to include in your next mix. You record it onto your hard drive, and give it
a listen. It’s pretty good, except for that pesky tape hiss. This little procedure
will clean up the hiss with very little signal loss. We’re going to reduce
the track to nothing but hiss, save the hiss to a clipboard, invert it and mix
paste onto the track. When it plays back, the inverted hiss will cancel out
the hiss you hear. If you wish to stay on the safe side, work with a copy of
the track, keep your original just in case. OK, here we gohttp://b00mb0x.org.
1. Open the file you wish to clean up.

2. Edit – Convert Sample Type (we’re going to work with a
32 bit float).
When the window opens, on the right
side, under ‘Resolution’, select 32, then click OK.

3. Transform – Noise Reduction – Hiss Reduction
Or, this shortcut:
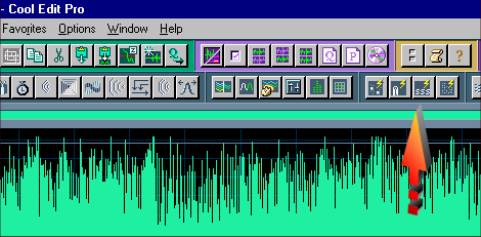
Select ‘Light Hiss Reduction’. If you are dealing with a lot
of hiss, try either ‘Standard’ or ‘High’ reduction, but keep in mind the more
aggressive you are, potentially you will lose more actual signal. (Losing some
of those highs and lows)Â So be willing to experiment.
Check ‘Keep Only Hiss’

then click ‘OK’.
4. Edit – Copy (Save to clipboard)
5. Undo the hiss reduction
6. Edit – Mix Paste
Make sure ‘Lock Left/Right’ is checked
Check ‘Invert’
Make sure ‘From Clipboard’ is checked.
Make sure ‘Overlap (Mix) is checked.

Click ‘OK’.
7. Edit – ‘Convert Sample Type’ (back to 16 bit).
This time, make sure ’16’ is selected
in the ‘Resolution’ window.

Click ‘OK’.
8. Save the file, you’re done!
No Responses to “ Removing Light Hiss With Cool Edit Pro ”