Tue 14 Sep 2004
Normalize Mix Volume with Cool Edit Pro
Posted by naz under Uncategorized
1 Comment
Younglove on the Syntrillium board at http://www.audioforums.com/
A friend and I reworked the original instructions slightly,
hopefully to make it easier to follow. I do not pretend to understand all
this stuff. I asked a couple of audio guys if it made sense and they said
it did. RMS stands for Root Means Squared, so RMS Normalizing is
normalizing to the Root Means Squared (ha ha) rather than to peak (which the
Normalize function does). This gets the output levels sounding all the
same (close anyway). It works for me, and while a little tedious I find it
takes less time in the long run to do this procedure.
So, here’s the manual procedure for RMS Normalizing in CEP 1.2 and
CE2000:
If you wish, to save timehttp://b00mb0x.org.Disable Undo
Edit – Enable Undo
(click so there is
No check mark)
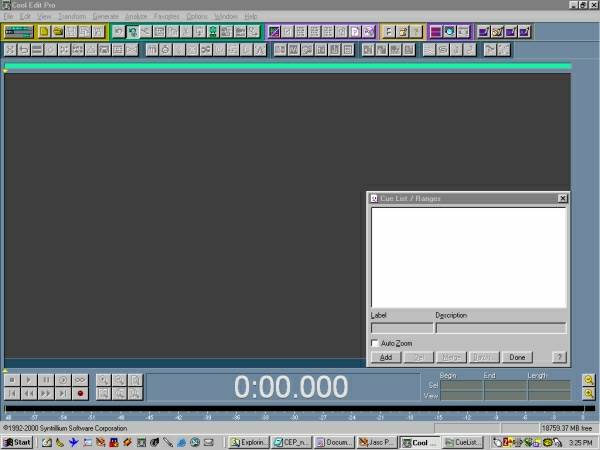
1. Bring up the cue list:
View – Cue
List
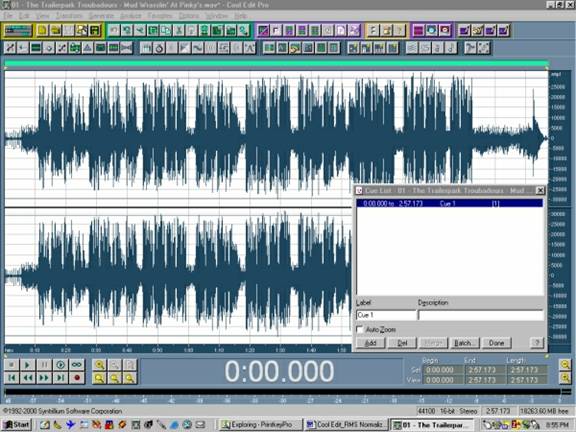
2. Open the first
track.
File – Open
3. Edit – Select Entire Wave. The whole wave should now be highlighted.
4. Press the Add button on the cue list window.
5. Open Append (not Open) (File – Open Append) all the remaining tracks (now the whole compilation is opened as a single wave
file and each track will have its own cue range). Warning: if you select multiple files in a directory to Open
Append at once, CEP does not Open Append these in the same order as your selected list. If you want them in order, add them 1 at a time. (Or, after
the first track is loaded, starting with the last track, select each track one at a time while holding down the CTRL key. If you do this in
inverse order, last to 2nd, they will all load correctly.) Otherwise youÂ’ll have to listen to them all when youÂ’re done to put them in the
right order.

6. Edit – Convert Sample Type the compilation wave to
32 bit. When the window opens, on the right side, under ‘Resolution’,
select 32, then click OK.

When I started doing this I had a P2 400 and a full disc of
music was 70 mins. This step took approximately 20 mins. (Double
that with Undo on). Currently, with a P3 1 gig a full disc (80 mins) takes
about 8 mins. Most mixes are shorter, so the time involved will be
relative to the length of your mix or disc and the speed of your computer.
7. For each cue range (track), do:
Â…A: select the cue range so that it is
highlighted

Â…B:
Analyze – Statistics.
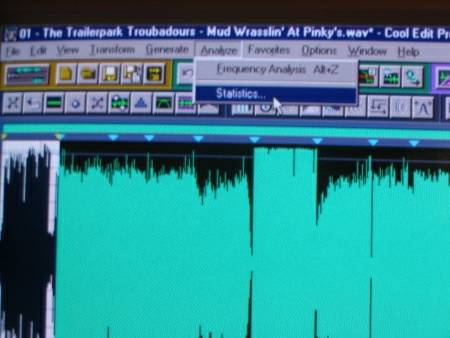
When you click on ‘Statistics’, a window opens and it
immediately starts analyzing. The first time, when it
has completed the analysis, set the RMS Window Width to 0 ms and
press the Recalculate button.

You’ll only need to recalculate the first time, once set to 0, it should stay.
Note the Average RMS Power of the louder of the left
and right channels (the one whose value is closest to 0 dB).
i.e. if one channel is -15.71 and the other -15.92, select
-15.71.

in this example, you would choose –20.59 db. Remember
(or write down) the number and click CLOSE.
Â…C:
Transform – Amplitude – Amplify

by *minus* that many dB (the value to amplify by will normally be
a positive value, for example “minus -24 dB” = 24 dB; using our example
the number to enter is 20.59 db.

Make sure that the “Constant Amplification” button is
selected.
Make sure that the “View all settings in dB” and
“Lock Left/Right” boxes are checked. Click “OK”. (This
will temporarily grossly amplify your track – don’t worry about it: it’s
a 32-bit float!)
Move on to Track 2, do A, B, C, etc. etc. etc.
8. Having done step 7 for each track, the tracks are now
normalized to RMS with respect to each other, rather than to
peak. Now: Edit – Select Entire Wave.
9. Transform – Amplitude – Normalize

Normalize to whatever value you want, say 98%. This brings the
levels back down without clipping or loss, and leaves a little headroom.
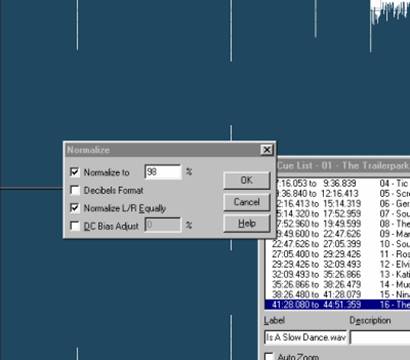
Fill in your number and click “OK”.
It will take anywhere between 2 to 5 mins before you see a
progress bar, be patient. This step will take about the same time as the
converting to 32 bit did.
10. Edit – Convert Sample Type – Convert back to 16
bit.

This time, select 16 in the Resolution window.
11. You can now use the Batch function on the Cue
List (highlight all the cues first: highlight the bottom one, hold the SHIFT
key, click on the top one) to automatically save the tracks to separate
files.


Make sure that ‘Save to Files’ is checked. Enter a
letter of the alphabet, or whatever you want in the Filename Template.
Enter the number 1 in the Starting Index box.
Set a destination with the Browse button.
Make
sure that you select
Windows PCM (*.wav) for Output Format.
Click “OK”. Each file will then be saved in your
destination folder.
******************** ENABLE UNDO
***********************
When your done and you close Cool Edit, it will ask you if you
want to save the changes to “Filename whatever” which will be the first track
you loaded. Just say NO.
The procedure reads complicated, but if you try it, it’s really
quite easy, just a bit tedious because it’s a manual
procedure
tutorial by umboto
This doesn’t work for me. Maybe the tutorial is too old (2004) and it’s now 2014!
But either way, when I try step 6 on all my songs (68), the waveform seems to be deleted, or just goes away and when I play it I hear nothing. When I try step 6 on just half my songs (34) it works fine. So I proceed, but after doing step 9, normalising doesn’t bring the songs to a roughly similar level. I suspect amplifying them in step 7 to the values from the Average RMS Power is a mistake. They probably need to be amplified to something different. If this tutorial suggests that this value is an average of the overall songs in the cue, I can tell you now that is incorrect. I tried cueing a different amount of songs, therefore the average would equate to be different, but CEP shows it is the same.
I think I am going to need to manually amplify each song and attempt to match all the songs levels by eye. Yay.